
Your website’s favicon might seem like a small detail, but it’s an essential part of your brand identity. That tiny icon you see in browser tabs, bookmarks, and mobile search results helps users recognize and remember your site. So, if you’re looking to change or update your favicon in WordPress, you’re in the right place.
In this step-by-step guide, we’ll show you three reliable ways to change your favicon in WordPress:
- Using the WordPress Customizer (no plugins needed)
- Using the Elementor Pro settings
- Manually via code and file uploads to your site’s root folder (recommended)
By the end of this article, you’ll have a clear, favicon happily showing on all your favourite platforms.
Not an Elementor Pro user yet? Click here to download Elementor Pro >
What is a favicon?
A favicon (short for favorite icon) is the small icon displayed next to your site’s title in the browser tab. It also appears in bookmarks, on mobile devices, and sometimes even in search engine results. Favicons are usually square (512 x 512 pixels is ideal) and are typically saved as .ico, .png, or .svg files.

Method 1: Change your favicon via the WordPress Customizer (no plugins needed)
Let’s start with the easiest and most beginner-friendly way to change your favicon. No coding required!
- Log into your WordPress Dashboard.
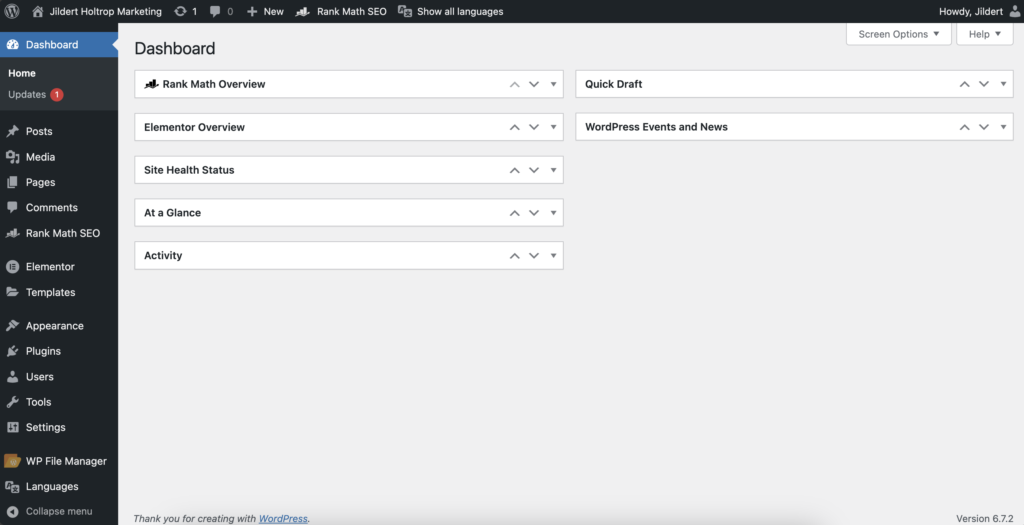
- Go to Settings → General.
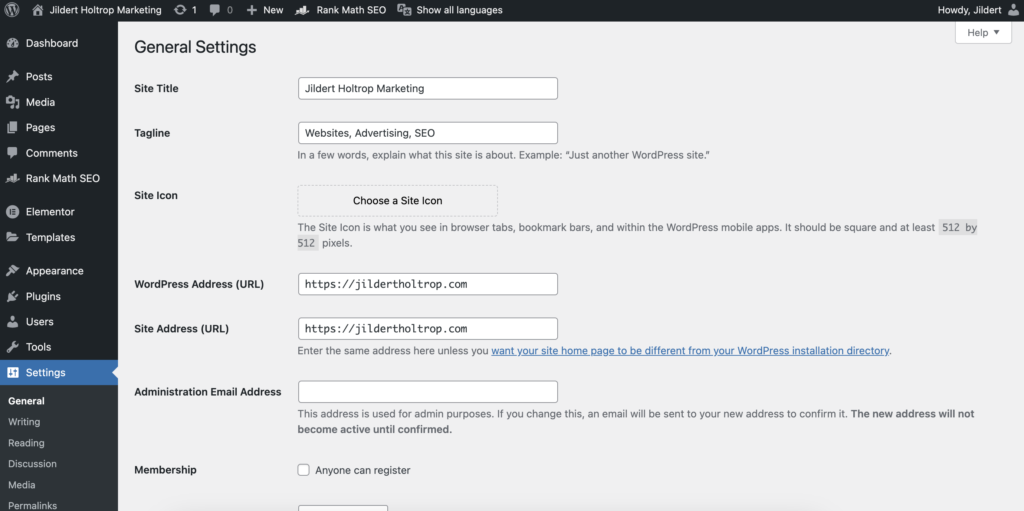
- Under Site Icon, click Change Site Icon and upload your favicon image (minimum 512 x 512 pixels).

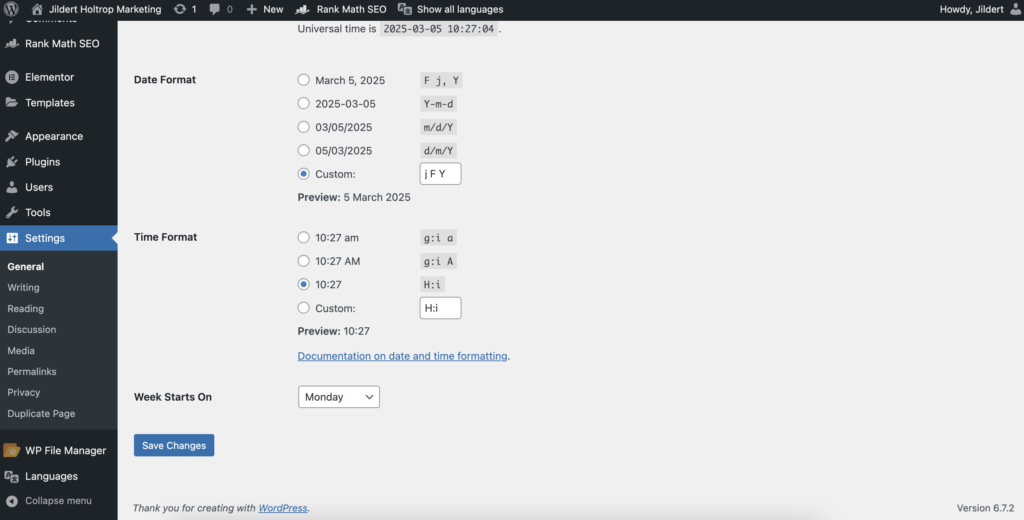
- Scroll down and click Save changes.
Note: WordPress automatically handles different device sizes and formats if you upload a high-quality image.
Method 2: Change your favicon via Elementor settings (for Elementor users)
If you are an Elementor user, you might want to manage your favicon directly through Elementor’s theme builder.
Not an Elementor Pro user yet? Click here to download Elementor Pro >
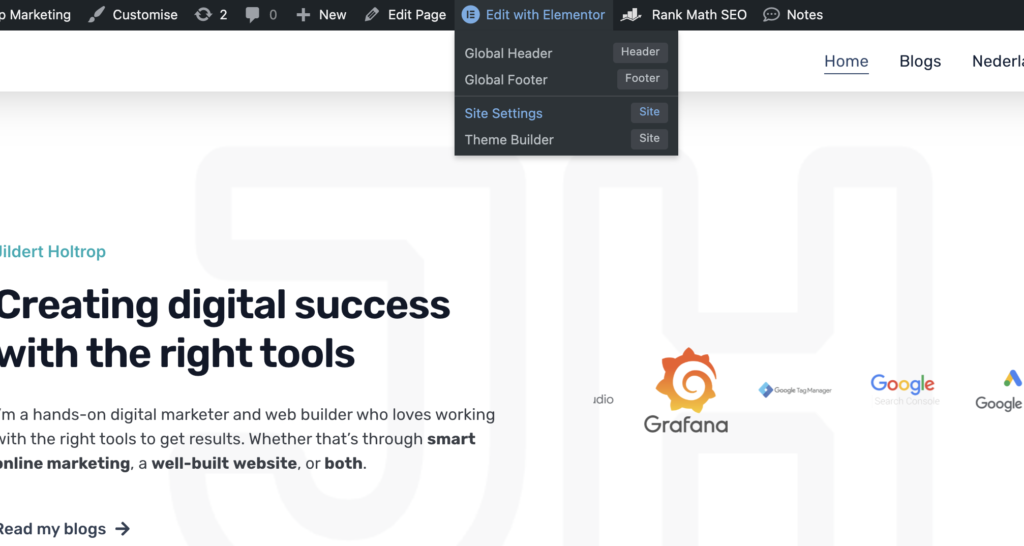
- When visiting your website as a logged-in user, click on Edit with Elementor → Site Settings.
- Under the Settings section, click on Site identity.
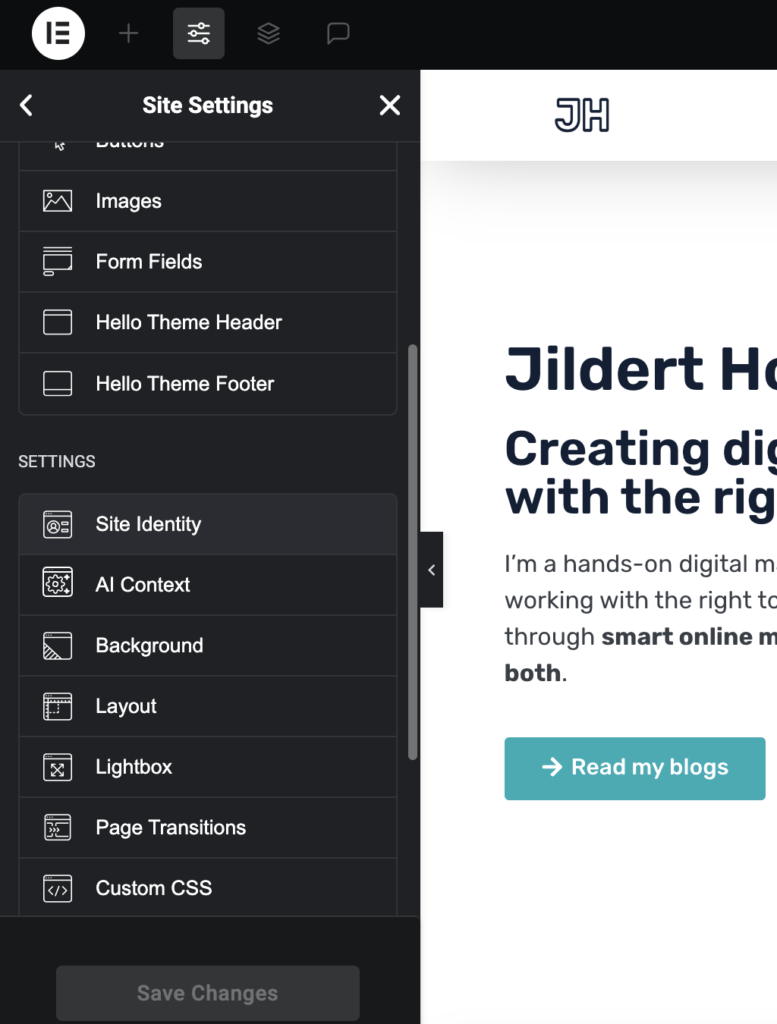
- Here you will find the Site Favicon option.
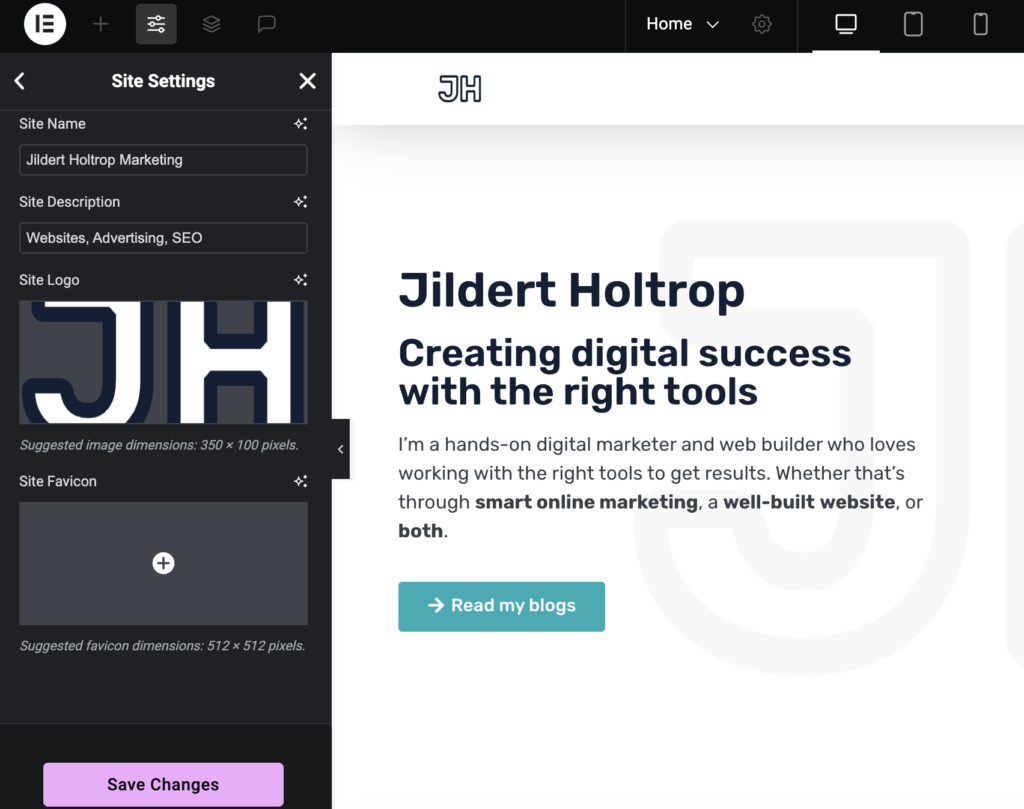
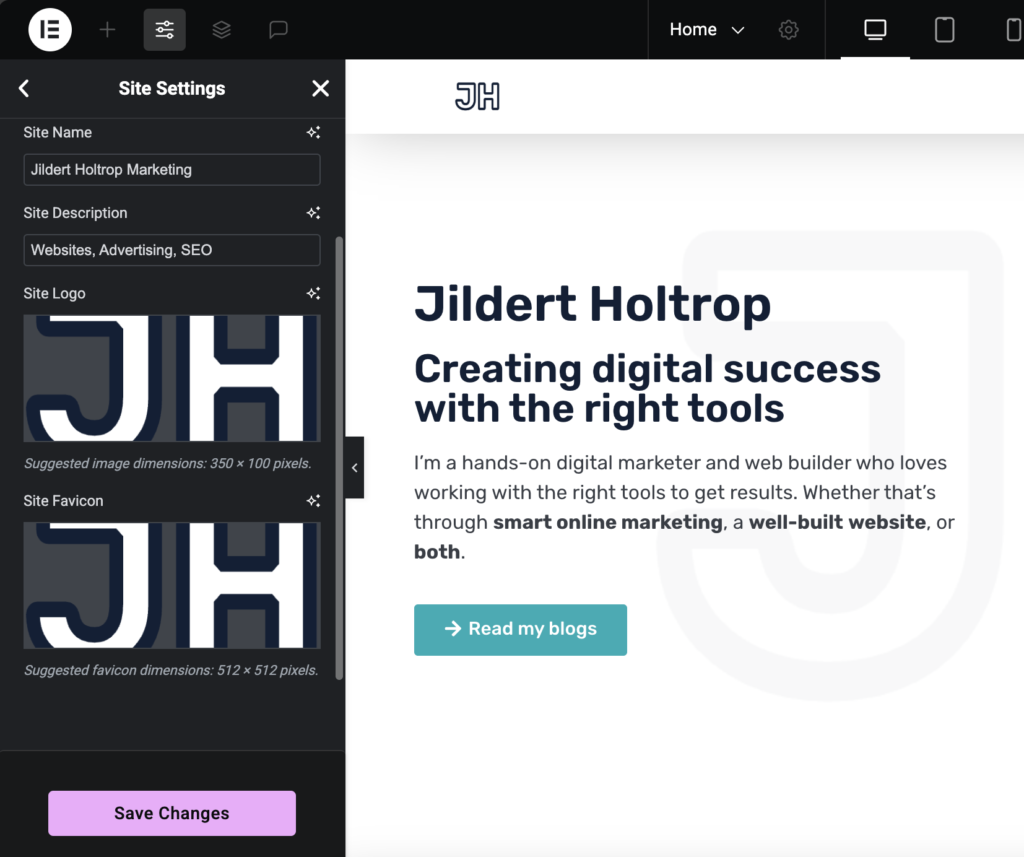
- Upload your favicon and click on Save Changes.
Note: If you did already set a favicon via the WordPress settings, Elementor’s favicon will override it.
Method 3: Change your favicon through the root of your website
This method is for users who want absolute control over how their favicon appears across all different browsers and devices. For this we will be using realfavicongenerator.net and the (free) WP File Manager plugin.
Preparing your favicon using RealFaviconGenerator.net
- Visit realfavicongenerator.net.
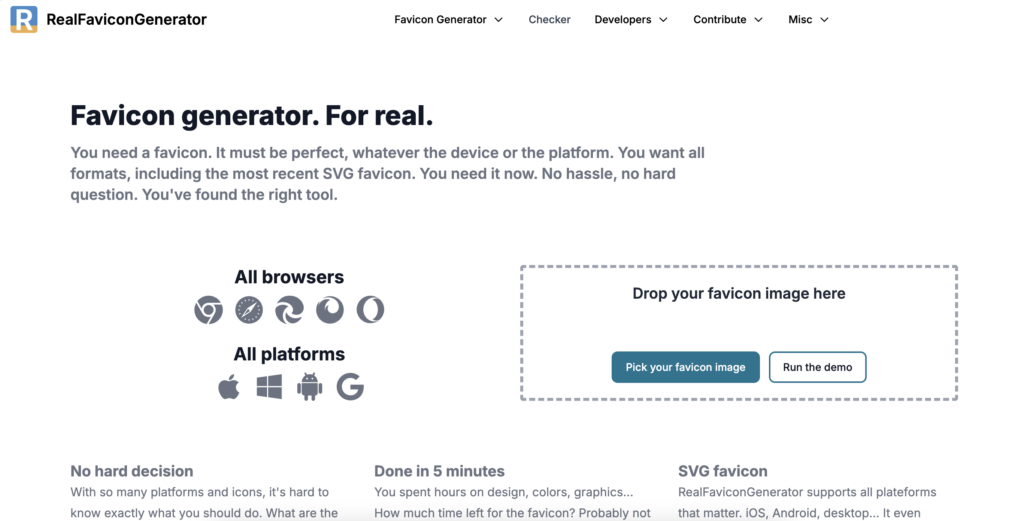
- Upload your favicon design, preferably in .png format.
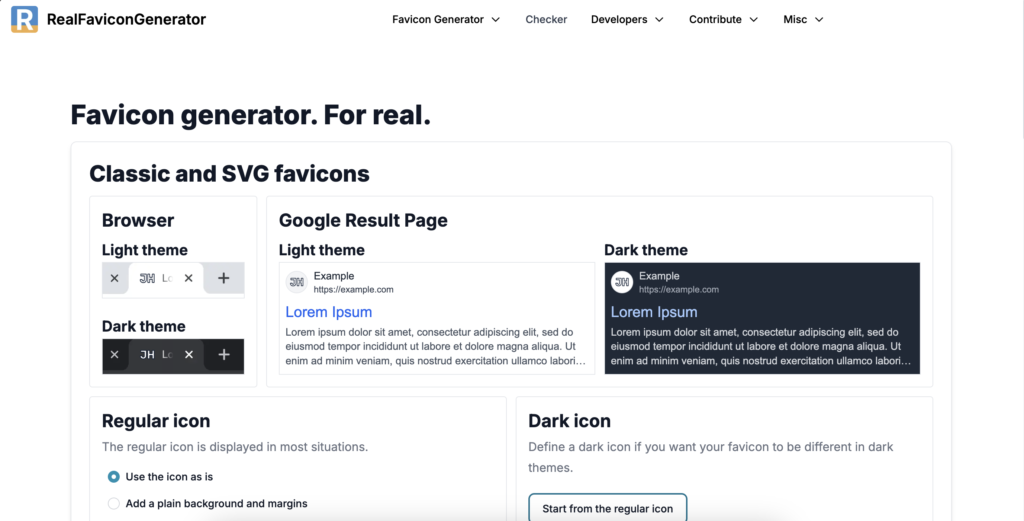
- Customize your favicon as you wish. You can change how it looks in dark mode, as an Apple Touch Icon and the Web app manifest.
- Fill in the Favicon path. This is the path where we will upload your favicon. We recommend leaving it your root directory ‘/’, because this is where various browsers will look for your favicon.
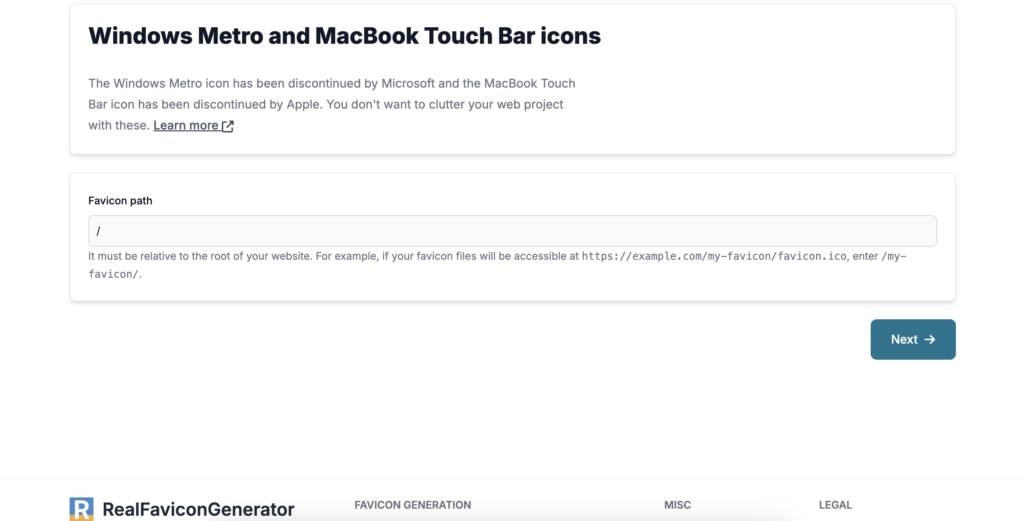
- Click on Next.
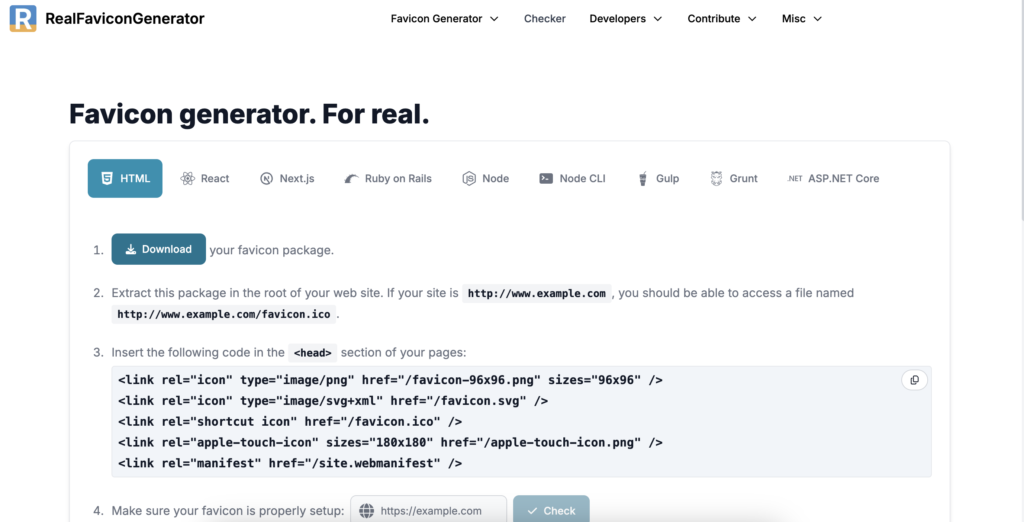
- Download your favicon package. NOTE: Leave this webpage open, because we will need the HTML-code later.
- Extract the favicon.zip in your Finder (Apple) or Explorer (Windows).
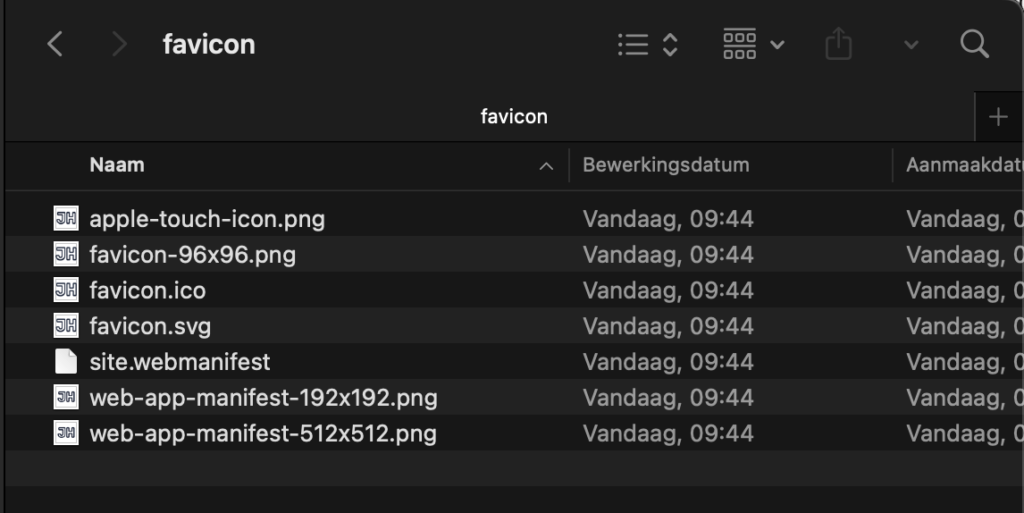
Upload the favicon files to the Root directory of your website
Uploading files to the root of your website is an activity for advanced WordPress users. You can do this through an FTP-connection with your websites server, however in this explanation I will be using the WP File Manager plugin.
- In your WordPress dashboard, go to Plugins → Add new plugin, and look for WP File Manager

- Click on Install Now → Activate to install and activate the plugin. You might be prompted with a message that installing the plugin was successful.
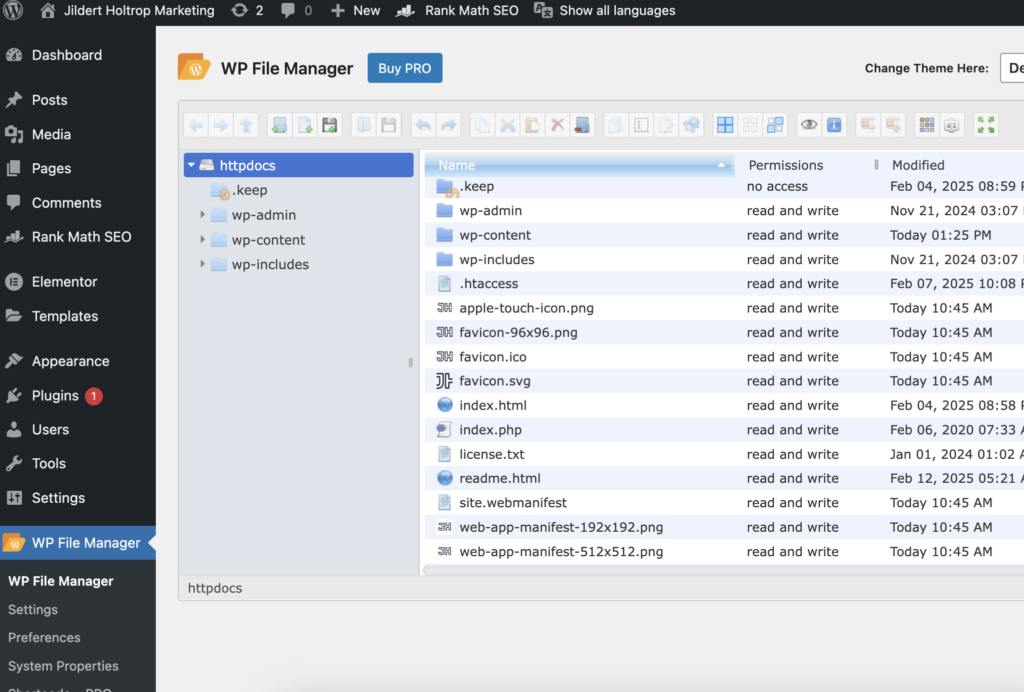
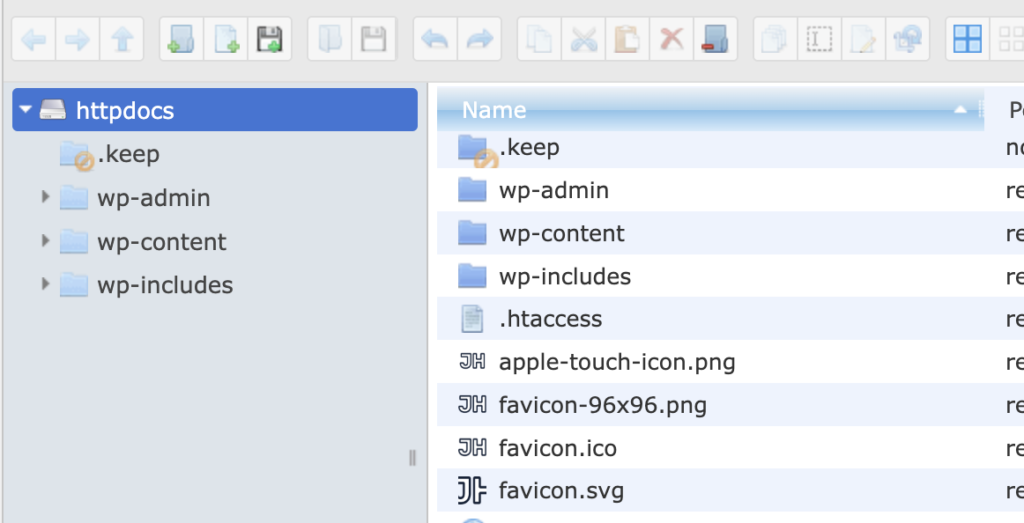
- In your WordPress dashboard, go to WP File Manager. Make sure you navigate to the folder where you find the three folders wp-admin, wp-content and wp-includes. This is the Root directory of your website.
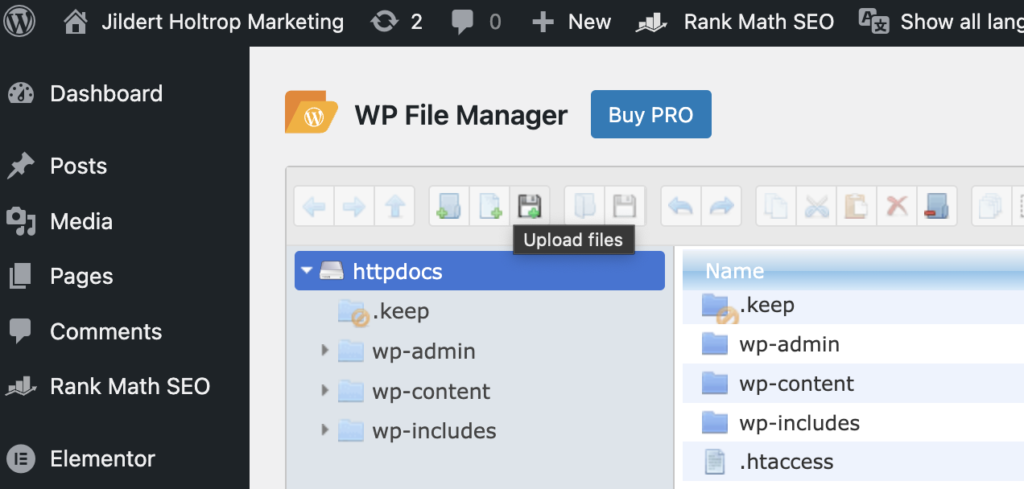
- Click on the Upload files icon. It looks like a black and white floppy disk with a green ‘+’ -icon.
- Now Upload the files in the favicon folder that you downloaded before. Make sure to not upload the folder, but only the files that are in the folder.
- You will now see the files listed. Double check that all files have been uploaded.
Place the HTML to the <head> of your website
In this explanation I will be using the Elementor Custom Code functionality to add the code to the head of your website.
If you are not an Elementor user, you can use a plugin like Code Snippets to easy inject the code. Another possibility is directly editing your theme’s header.php before the closing </head> tag.
- In your WordPress dashboard, go to Elementor → Custom Code.
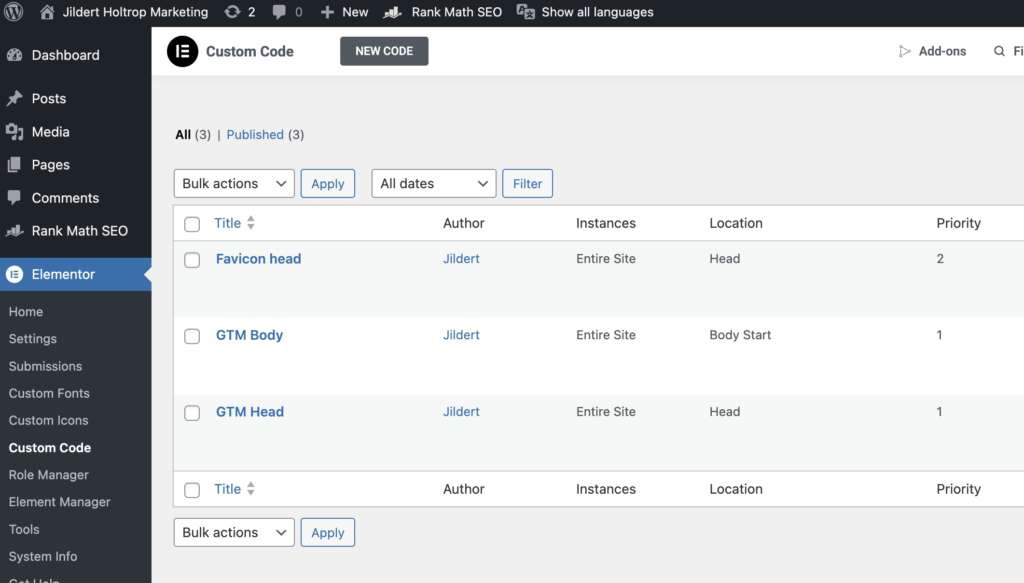
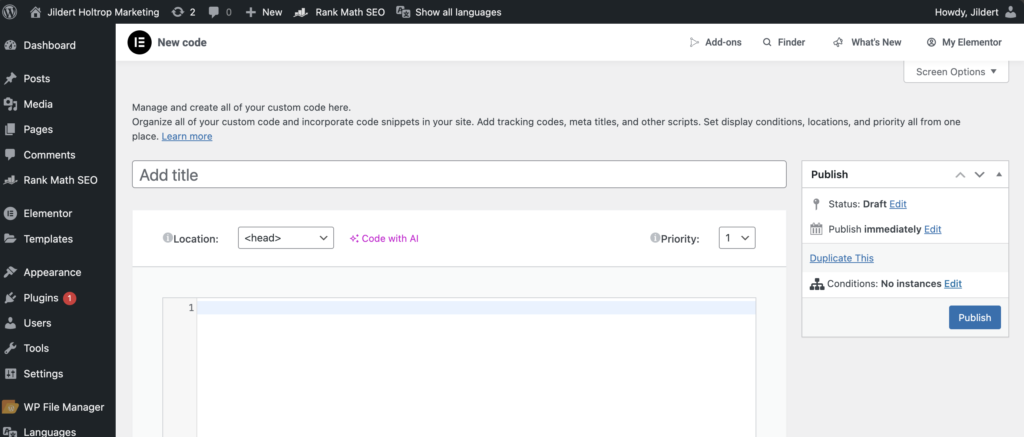
- Click on New Code.
- Copy the HTML code from realfavicongenerator.net that we created earlier.

- Paste the code in the editor field of your Elementor Custom Code.
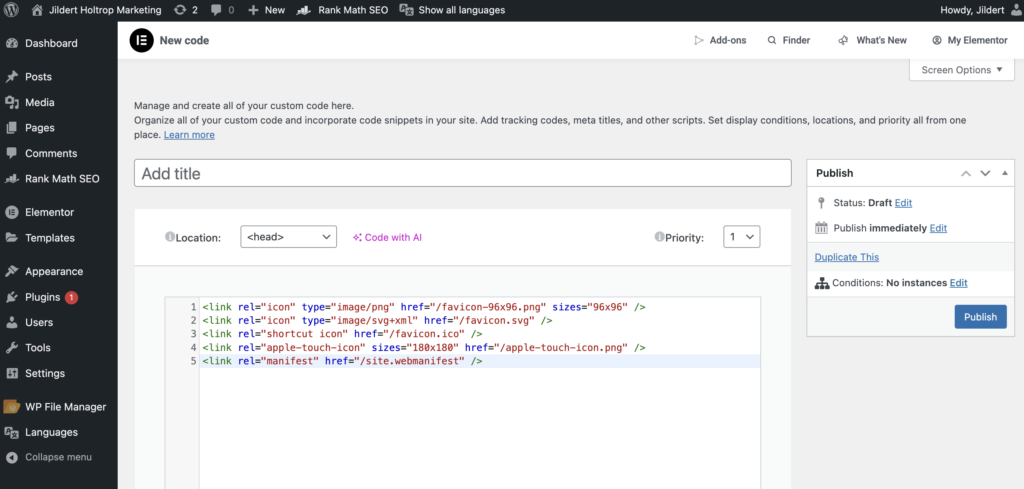
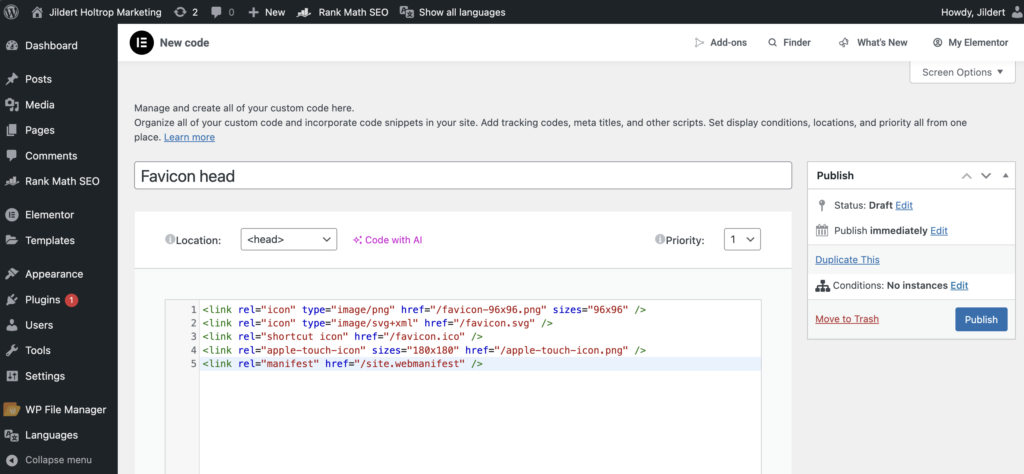
- Make sure <head> is selected as location, and change the title to Favicon head for example. Now click Publish.
Test the favicon of your WordPress website
Congratulations! You installed your own custom favicon on your WordPress website. To make sure everything is setup correctly, you can use the favicon checker from realfavicongenerator.net to check whether everything is working right.
What I have found is that when I used method 1 or method 2 to install the favicon, RealFaviconGenerator didn’t recognize the icons. The reason for this is that RealFaviconGenerator, just like various browsers and search engines, looks for the favicon.ico files in the root of your website. For example https://jildertholtrop.com/favicon.ico. When using method 1 or method 2, you will not find the files there. You can test this yourself by typing in https://yourdomain.com/favicon.ico in the address bar of your browser.
Therefore I recommend using method 3 to install your favicon to your WordPress website.
Which method is right for you?
A favicon may seem like a small feature, but I believe that it is a key part of creating a polished, professional website. Want to get started? Use the table below to figure out which method is the best for you.
| Method | Difficulty | Best for | Requires plugins | Customization |
|---|---|---|---|---|
| 1: WordPress customizer | Easy | Beginners | No | Basic |
| 2: Elementor site settings | Easy | Beginners, Elementor users | Yes (Elementor) | Basic |
| 3. Root directory | Advanced | Advanced WordPress users | No (if you use FTP and customize your theme | Fully |
Frequently Asked Questions
How often should I update my favicon?
Only when you rebrand or change your logo. Otherwise, consistency helps with recognition.
Can I use SVG files as favicons?
Some modern browsers support SVG favicons, but for maximum compatibility, stick with .png and .ico formats.
Why isn’t my new favicon showing in my browser?
Try clearing your browser cache, site cache, and CDN cache if you’re using one. It can take time for changes to propagate.
Why isn’t my new favicon showing in the search results of Google?
Since a favicon should not be changed too often, Google only sporadically re-crawls your website for favicon. It is a matter of patience before your new favicon shows online. Would you like to speed-up the process? Use method 3 to change the favicon on your website.
Why is my favicon not showing in my Search Console Dashboard?
Google only sporadically re-crawls your website for updates in the favicon, so it is only a matter of time. Use method 3 to be fully prepared for the crawlers to scan your website.